Beginner’s Guide to Growing Pomegranates in Containers
A pomegranate in a pot sounds like a stretch. This is a plant associated with hot, stony hillsides and long dry summers, and the fruits in the shops look as though they came from somewhere far more generous than a balcony. In practice, pomegranates take to container life better than most fruit trees. They are naturally compact, they forgive irregular watering, and they are oddly content when their roots have nowhere left to go — a slightly cramped pot often pushes them towards flowering instead of yet more leaves.
What they do mind is wet feet, heavy-handed pruning, and a cold snap arriving when the compost is soaking. Get those three things right and a modest nursery plant can stay with you for a decade or more, cropping a little more heavily each year.
Choose a Pot Bigger Than You Think
A young pomegranate in a two-litre nursery pot will settle happily into something around 30 to 40 litres — roughly 45 cm across and just as deep. If you have the floor space, plan for a final container of 60 litres or more, because pomegranates dislike being disturbed and every repotting costs them a season of fruit.
Depth matters as much as width. The roots go down, and a tall pot stays cooler and dries out more slowly than a shallow bowl. Check the drainage holes before you buy anything; if there is a single central hole, widen it, and if there are none, choose another pot.
Terracotta, plastic or fabric?
Terracotta breathes and looks right, but in a hot summer it can dry a small pot out in a day. Plastic holds moisture better, weighs less, and is far easier to carry indoors in autumn. In very sunny climates, pick a light colour: dark plastic in full sun can cook the roots near the surface. Raise the pot on feet or bricks so water drains freely and air moves underneath.
When to repot
Move the plant up one size every two to three years in early spring, just as growth begins. Resist leaping straight to the largest pot you can find — a small plant in a huge volume of wet compost is a recipe for root rot. If the pomegranate is already as big as you want it, top-dress instead: scrape off the top 5 cm of old compost, replace it with fresh mix, and finish with a layer of grit.
A Soil Mix That Drains and Holds
In open ground a pomegranate shrugs off poor soil. In a pot it needs structure — a mix that holds water long enough for the roots to drink but lets the excess run away within seconds of a heavy watering. You can make a reliable one from three ingredients:
- 6 parts loam-based potting compost — the backbone, giving weight and nutrients that don't wash out
- 2 parts horticultural grit or perlite — the drainage
- 1 part well-rotted manure or garden compost — the slow feed
Finish with a 2–3 cm layer of gravel on the surface. It cuts evaporation, keeps ripening fruit off damp compost, and stops the top of the pot turning into a green carpet. Avoid filling the pot with garden soil alone: it compacts, drains badly and brings weeds with it. Pomegranates are unfussy about pH, coping with anything from slightly acid to slightly alkaline, so a neutral mix is all you need. Don't feed at planting time — wait until new growth appears in spring.
Watering Rhythm, Not a Schedule
More container pomegranates are lost to kindness than to drought. The plant can survive a dry fortnight; it cannot survive standing in water. The rhythm to aim for is simple: soak the pot thoroughly until water runs from the base, then wait until the top 3–5 cm of compost is dry before watering again. Push a finger in, or lift the pot and judge by weight.
As a rough guide: in summer heat, a 30-litre pot may need water every day or two, while a 60-litre pot can go two or three days. In spring and autumn, once a week is usually plenty. Through winter, water only every few weeks — just enough to stop the compost becoming dust-dry. Never leave the pot sitting in a full saucer; empty it after half an hour.
Consistency matters most in late summer. Erratic watering, bone dry followed by flooded, is one of the usual causes of fruit splitting just as the crop is ripening.
Reading the leaves
- Yellowing leaves in summer that drop at a touch: usually too wet, not too dry.
- Crisp, curled leaf edges in a heatwave: the plant is thirsty — soak it slowly rather than splashing the surface.
- A white crust on the compost: hard water and leftover feed salts. Flush the pot with a long, slow watering once or twice a season.
Pruning With a Light Hand
Prune in late winter, while the plant is still dormant and you can see the shape without leaves in the way. The aim in a container is a small, open bush rather than a tree, with light and air reaching the middle.
- Cut out dead, damaged and crossing stems right at their base.
- Remove suckers pushing up from the compost, and any shoots growing straight inwards.
- Keep three to five main stems and let the rest go.
- Shorten last year's growth by about a third, cutting just above an outward-facing bud.
- Step back and check the silhouette before making another cut.
Here is the part beginners get wrong: pomegranates flower on short new shoots that emerge from older wood. Those previous-year stems are exactly what will carry this summer's flowers, so don't shear the plant back hard and wonder where the blossom went. In summer, pinch out the tips of overly vigorous shoots to keep the shape, and thin a crowded centre if necessary. A light tidy every year beats a drastic rescue every five.
Overwintering: The Container Problem
An established pomegranate in open ground may shrug off roughly -10°C, depending on the variety and how long the cold lasts. In a pot, treat that figure as optimistic. The roots sit above the frost line, and a small volume of compost can freeze solid in a way garden soil rarely does.
Start preparing in late summer: stop feeding by the end of July so the wood ripens instead of pushing soft new growth into autumn, and begin reducing water in September. Before the first hard frost, move the pot into an unheated garage, shed, porch or cold greenhouse. Aim for cool and bright — around 2 to 8°C is ideal — with good air movement. Water sparingly, perhaps once a month, and check the rootball hasn't dried out completely.
If the plant has to stay outside, choose the most sheltered spot you have, against a south or west wall. Wrap the pot itself in bubble wrap, sacking or straw, stand it on a block to keep it off frozen paving, and mulch the surface. Leave the branches uncovered. Some leaf drop in a cold winter is normal and not a sign the plant has died — scratch a stem in spring to check for green beneath the bark. Bring pots out gradually over a week or two after the last hard frost, so soft new growth isn't scorched by sudden sun.
The First Two Years, and What to Expect
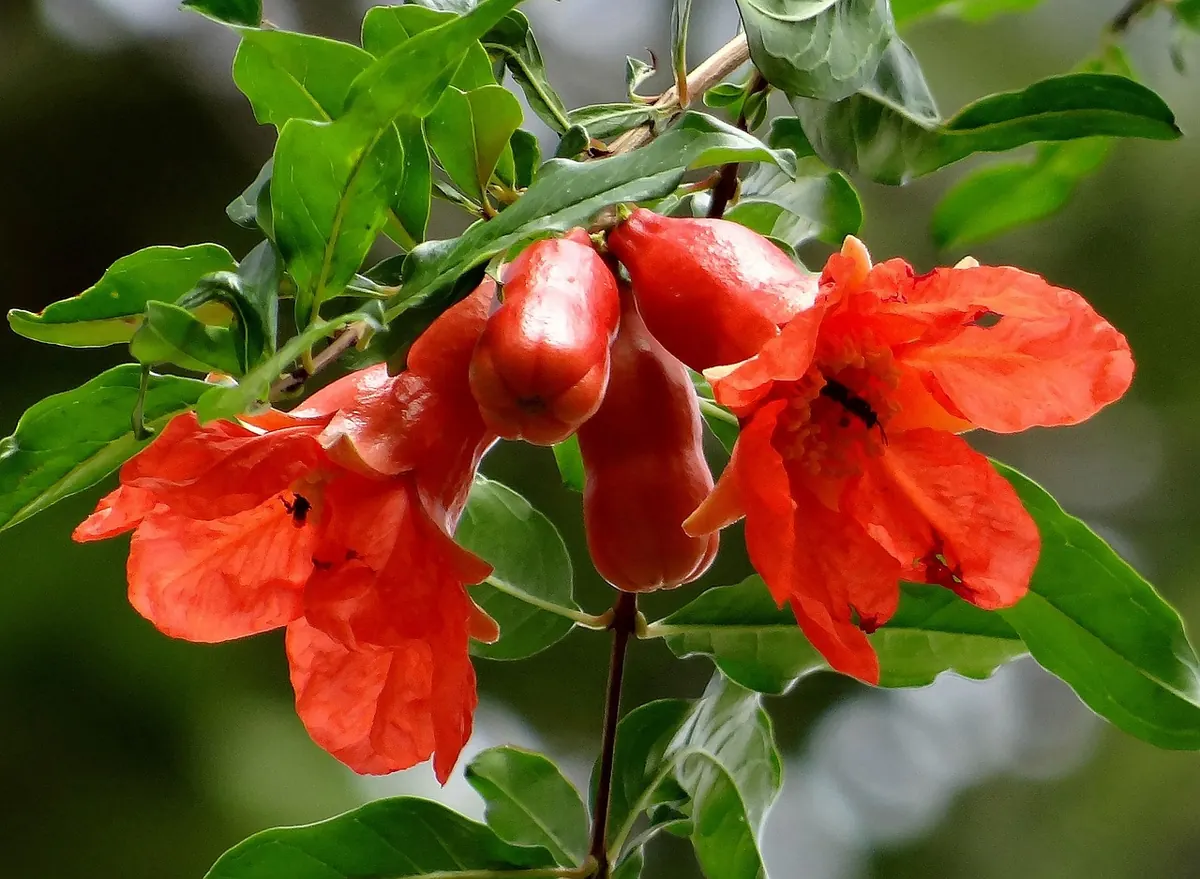
Expect flowers before you expect fruit. Many young plants bloom in their second season only to drop the flowers without setting anything, which is normal while the root system establishes. A first proper crop usually arrives in year three or four, and it will be smaller than a garden tree's — that is the trade you make for a movable plant.
If flowers open but nothing sets, especially indoors or on a sheltered balcony, tickle the inside of each bloom with a soft brush in the middle of a dry morning. Where a heavy set does form, thin some of the smallest fruits so the rest can size up. Keep a few notes: when you watered, when buds appeared, when frost arrived. Two seasons of your own jottings will teach you more about your particular balcony than any general guide, this one included.
Photo: milivigerova / Pixabay